

Key takeaways
- Occasional bank fishing: A digital monocular or goggle-style viewer is usually the practical starting point. It is comparatively affordable, can record on some models, and tolerates ordinary changes in light better than traditional image-intensifier equipment.
- Frequent, hands-free use: Look for a purpose-built head-mounted binocular or a compatible helmet-mounted system. Prioritize fit, weight, battery placement, and controls you can operate with gloves—not maximum advertised range.
- Dark, unlit areas where natural detail matters: A quality image-intensifier device may provide a more immediate, continuous view without the screen-like rendering of digital models. It costs more and needs careful protection from bright light.
- Moving by boat: Treat goggles as an aid for spotting hazards, not as a substitute for navigation lights, charts, a lookout, or a suitable marine night-vision system. A narrow view, image lag, or IR glare can make a device unsuitable for steering.
For most anglers, the best night vision goggles are a digital, head-mounted unit with a built-in infrared (IR) illuminator, a 40°–50° field of view, and enough battery capacity for a full night; choose a traditional image-intensifier model instead when natural-looking detail and passive viewing matter more than price or bright-light convenience.
There isn’t one best choice for every night on the water. A bank angler navigating familiar ground has different needs from a boat operator scanning shorelines, and neither needs to pay for long-range detection they can’t use safely. The comparison below focuses on what the specifications mean in practical low-light use.
Our top picks
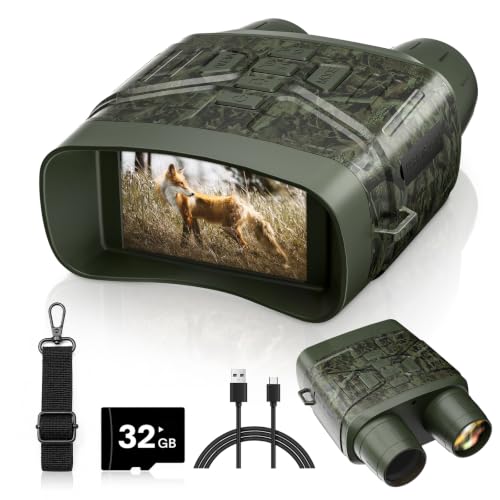

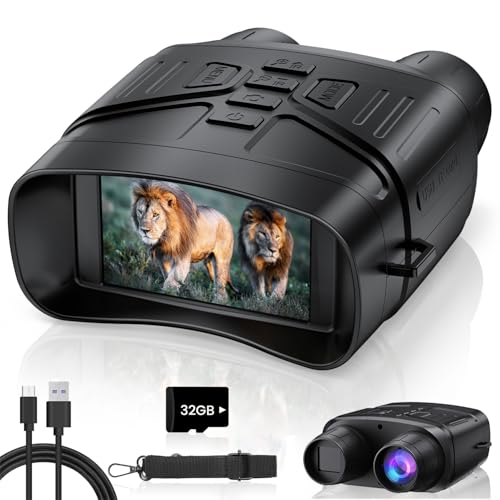

As an Amazon Associate we earn from qualifying purchases at no extra cost to you. Ratings are shown as listed on Amazon.
Shortlist by situation
- Occasional bank fishing: A digital monocular or goggle-style viewer is usually the practical starting point. It is comparatively affordable, can record on some models, and tolerates ordinary changes in light better than traditional image-intensifier equipment.
- Frequent, hands-free use: Look for a purpose-built head-mounted binocular or a compatible helmet-mounted system. Prioritize fit, weight, battery placement, and controls you can operate with gloves—not maximum advertised range.
- Dark, unlit areas where natural detail matters: A quality image-intensifier device may provide a more immediate, continuous view without the screen-like rendering of digital models. It costs more and needs careful protection from bright light.
- Moving by boat: Treat goggles as an aid for spotting hazards, not as a substitute for navigation lights, charts, a lookout, or a suitable marine night-vision system. A narrow view, image lag, or IR glare can make a device unsuitable for steering.
Technology comparison: digital versus image intensifier
Digital night vision uses a sensor and display to produce a visible image, often with an IR illuminator for very dark conditions. It is commonly less expensive and generally handles brief exposure to ordinary ambient light more gracefully. Trade-offs include a screen-based appearance, possible latency, and greater reliance on batteries. In pitch darkness, the illuminator may be essential—and its beam can reveal your position to others using compatible night vision.
Image-intensifier night vision amplifies available light rather than displaying a conventional digital camera feed. It can offer a more natural-feeling view and avoid digital display lag, but performance varies by tube generation and condition. These units are typically expensive, require more careful handling around bright light, and should be bought with documentation on the tube, warranty, and allowable operating conditions.
Neither type sees through fog, heavy rain, or dense vegetation. IR helps illuminate nearby targets, but it does not turn an obstructed or weather-filled view into a clear one.
What the numbers tell you
Ranges below are realistic comparison bands, not guarantees: target size, moonlight, vegetation, humidity, sensor quality, illuminator strength, and the manufacturer’s definition of “detection” all change results. Detection means noticing an object; identification requires enough detail to tell what it is.
| Device type | Typical useful field of view | Practical detection range* | Typical runtime | Mounting and weather notes |
|---|---|---|---|---|
| Digital monocular, handheld | About 20°–40° | About 50–200 m with IR, depending on target and conditions | About 3–8 hours | Easy to pack; usually needs a hand to operate. Check the exact ingress-protection rating. |
| Digital goggle-style unit | About 30°–50° | About 50–200 m with IR, depending on target and conditions | About 2–6 hours | Hands-free when properly fitted; heavier models can strain the neck. Helmet compatibility varies. |
| Image-intensifier monocular or binocular | Often about 40° | Highly dependent on ambient light and tube performance | About 20–50 hours for many battery-powered units | Mounting depends on the model. Keep protected from bright light and follow the maker’s handling guidance. |
*Broad, illustrative ranges for comparison—not promised specifications for every product. Always verify a model’s published runtime, field of view, ingress rating, battery type, and test conditions before buying.
How to choose for your fishing routine
Start with how long you’ll use them
For a short walk to a regular spot, a handheld digital viewer may be enough. For several hours of moving, hands-free use becomes valuable—but only if the head mount is comfortable and stays secure. A useful runtime rule is to budget 25% more than your planned session: for a six-hour outing, seek at least 7.5 hours of stated runtime under settings similar to yours. IR at high power, recording, cold weather, and aging batteries can cut actual operating time, so carry a spare battery or approved power source where practical.
Match field of view to the task
A wider field of view makes it easier to scan a shoreline or keep track of nearby surroundings. A narrower view may make distant objects appear larger, but it is easier to lose track of where you are looking. For walking or working with tackle, favor a wider view and keep the device’s magnification modest. High magnification also amplifies hand movement and may make close navigation harder.
Judge IR by usable illumination, not a headline distance
Built-in IR illuminators differ in power, beam spread, and wavelength. A narrow, powerful beam may reach farther but leave nearby areas dark; a wide beam can be more useful around a landing or tackle station. Some IR wavelengths are less visibly red to the unaided eye than others, but “covert” does not mean undetectable by all equipment. Check whether the illuminator has adjustable brightness and whether the device can operate passively under available moonlight.
Check mounting, weight, and weather protection
“Mountable” doesn’t guarantee a secure fit. Confirm the interface, whether an adapter is required, and whether the controls remain accessible on the intended helmet or headgear. Balance matters: a heavy device mounted well forward can become uncomfortable quickly. For wet conditions, look for a stated IP rating rather than words such as “water-resistant.” An IP rating describes defined ingress tests; it does not automatically mean a device is suitable for immersion, saltwater spray, or operation while charging. Rinse salt residue only as the manufacturer directs, and dry the unit before storage.
Ownership details that matter after the purchase
On digital units, the battery and charging port are common weak points in regular outdoor use. Keep port covers closed, avoid charging a damp device, and use only the specified cable or battery. On either technology, lens scratches, dirty optics, loose mounts, and neglected seals can compromise performance before the electronics fail. Use a blower or clean, soft lens cloth rather than wiping grit across the lens; don’t use household cleaners unless the manufacturer permits them.
Cold nights can reduce battery performance, so keep spare cells warm and dry—not loose with metal tackle that could short them. Before heading out, check focus, mount security, battery charge, and IR operation in a safe, familiar place. Avoid aiming any night-vision device at the sun or other intense light sources, especially an image-intensifier unit.
Bottom line
For occasional low-light trips, choose a digital device with a practical wide view, replaceable or well-supported power, and a clear weather rating. For frequent hands-free use, put comfort and mounting compatibility ahead of advertised detection distance. Choose image intensification when its natural viewing experience and passive performance justify the extra cost and handling care. For every option, buy to the conditions you actually face—and treat night vision as an additional aid, not a replacement for safe lighting and navigation.

Write Your Review
No reviews yet. Be the first to share your experience!